
Date : May 27, 2026
Category: Recovery & Wellness
Cold Plunge Setup Guide: Everything a Beginner Needs Before the First Session
Most people spend weeks researching cold plunge tubs. Then the equipment arrives, and there is no clear idea of where to start. That time, a poor setup causes inconsistent temperatures. Not only this, but it also starts making water quality problems and equipment that does not work well from the beginning. This cold plunge setup guide covers every step a
Most people spend weeks researching cold plunge tubs. Then the equipment arrives, and there is no clear idea of where to start.
That time, a poor setup causes inconsistent temperatures. Not only this, but it also starts making water quality problems and equipment that does not work well from the beginning.
This cold plunge setup guide covers every step a beginner needs: choosing the right setup type, picking a location, assembling the system, setting the correct temperature, avoiding mistakes, and keeping the water clean.
For anyone completely new to cold water immersion, reading the beginner cold therapy tips and starting cold plunge safely guide first is a good idea before jumping into the physical setup.
Step 1: Decide the Setup Type Before Buying Anything
Before placing any orders, it helps to understand the three main options for a cold plunge setup for beginners at home.
DIY or Stock Tank Setup
The most budget-friendly option. A stock tank, chest freezer conversion, or large container filled with cold water and ice. This typically costs between the range from $200 to $500. If we talk about temperature control, then it’s manual and inconsistent. This works for someone testing the practice before committing to a dedicated system.
Portable Cold Plunge Setup
Inflatable or foldable tubs that are easy to move and store. Cost ranges from $300 to $1,500. Some models pair with a basic chiller unit. A practical choice for renters or anyone who needs flexibility with space.
Dedicated Cold Plunge Tub with Chiller
The most reliable option for a home cold plunge setup. A PURPOSE-BUILT tub paired with a cooling system that holds a consistent temperature without needing ice. This tub cost ranges from $2,000 to $8,000 depending on brand and even the specs. This is the setup most serious users move toward after the first month.
Many beginners still compare ice bath vs cold plunge before making a decision. For those ready to invest, comparing the best cold plunge systems available today helps narrow down the right choice. The cold plunge buying guide also explains what features actually matter before spending money.
Step 2: Pick the Right Location for the Cold Plunge
Location is one of the most overlooked parts of a home cold plunge setup. Getting this wrong creates problems that are difficult to fix after the tub is in place.
For an Outdoor Cold Plunge Setup:
- Flat, stable surface that can support 700 to 1,000 lbs when the tub is fully filled
- A GFCI-protected outdoor outlet within reach of the power cord
- Shade or a cover to limit direct sun exposure (sunlight degrades sanitizers and raises water temperature faster)
- Enough clear space on at least one side for safe entry and exit
For Indoor Cold Plunge Ideas:
- Verify the floor load capacity before installation, especially on upper floors
- Drainage access nearby for routine water changes
- Adequate ventilation to manage humidity from the chiller unit
- A GFCI outlet within cord reach with no extension cord required
One detail most setup guides skip is that the chiller unit needs at least 18 to 24 inches of clearance on all sides. And most importantly, pushing it flush against a wall blocks airflow. Not only airflow, but it causes the compressor to overheat over time.
Step 3: How to Assemble and Connect the Cold Plunge System
The following cold plunge installation guide applies to most dedicated tub-and-chiller setups. For a portable cold plunge setup or DIY cold plunge build, some steps will differ depending on the equipment.
- Put the tub where you want it before you fill it. Because when it’s filled, then it’s harder to move it.
- Position the chiller unit nearby with 18 to 24 inches of space around it.
- Connect the inlet and outlet hoses from the chiller to the tub ports as labeled in the manual. Most systems use color-coded connections.
- Fill the tub with water and stop about 4 inches from the top. This leaves room to prevent overflow during a session.
- Plug the chiller into a GFCI-protected outlet directly. No extension cord.
- Power on the unit, set the target temperature, and allow 4 to 8 hours for the water to cool before the first session.
For those using Titan equipment, the Titan cold plunge for beginners setup is designed to be straightforward. An easy-to-use control panel that walks through the first steps on the display and labeled hose connections
Step 4: Set the Right Water Temperature for the First Session
Temperature is where most cold plunge first time setup guides get vague. The correct starting range for most beginners is 55 to 59 degrees F (12 to 15 degrees C).
Going colder than this on day one does not speed up results. It triggers a stronger cold shock response, makes breathing harder to control, and often ends sessions in under 30 seconds.
| Experience Level | Cold Plunge Water Temperature | Session Target |
| Week 1 to 2 | 55 to 59 degrees F (12 to 15 degrees C) | 1 to 2 minutes |
| Week 3 to 4 | 50 to 55 degrees F (10 to 12 degrees C) | 2 to 3 minutes |
| Month 2 onward | 45 to 50 degrees F (7 to 10 degrees C) | 3 to 5 minutes |
One thing to keep in mind about timing is that taking a plunge within 4 hours of a strength training session can actually hurt muscle growth. It can reduce muscle protein synthesis by up to 30%. If your main goal is to build muscle, then it’s better to do the plunge in the morning and your strength training in the evening.
This way you get the benefits of a cold plunge and also have a good recovery. Understanding these benefits helps you make a routine around each cold plunge session.
Common Cold Plunge Setup Mistakes Beginners Make
These are the errors that show up most often in beginner cold plunge setups. Most of them are easy to avoid once someone knows what to look for.
Placing the Chiller Flush Against a Wall
The unit needs airflow on all sides. Pushing it against a wall blocks ventilation, causes the compressor to overheat, and shortens the lifespan of the unit significantly.
Using an Extension Cord
Cold plunge chillers draw high current. Extension cords are a fire hazard and can trip breakers under load. The outlet needs to be close enough for the power cord to reach it directly.
Starting at Too Low a Temperature
Beginners who start at 38 to 42 degrees F on day one often quit after the first session. The cold shock response at that temperature is intense without any prior cold tolerance built up. Research confirms that gradual temperature progression increases adherence to cold plunging routines by 40 to 60%.
Skipping the Water Test Before the First Session
pH and sanitizer levels should be checked before the first plunge, not after. Water that has been sitting in a new tub can carry residue from manufacturing or shipping. Target pH range is 7.2 to 7.8 from day one.
Plunging Right After Heavy Training
For muscle-building goals, it’s kind of backfiring. Cold exposure right after resistance training can blunt the hypertrophy response, like it sort of ruins the wanted adaptation. If you wait at least 4 hours between the workout and the plunge session, that risk goes away.
Leaving an Outdoor Tub Uncovered
Direct sunlight degrades sanitizers faster and raises the water temperature between sessions. A fitted cover keeps debris, insects, and UV light out. This is a cold plunge setup mistake that shows up in maintenance problems weeks later.
Cold Plunge Maintenance Tips to Keep the Water Clean
Setup does not end on day one. Water quality and equipment care determine how long the tub stays safe and functional. A simple cold plunge cleaning routine prevents most problems before they start.
Daily Maintenance
- When you are done using the tub cover it away.
- After each session skim off the debris that is floating on the water with a fine mesh net.
- The filtration system should be running for least 4 hours every day.
Weekly Maintenance
- Test pH levels and keep them between 7.2 and 7.8
- Wipe down tub walls to prevent biofilm buildup
- Rinse the filter cartridge with a hose
Monthly Maintenance
- Full water change and deep clean of the tub interior
- Inspect chiller hose connections for wear or leaks
- Replenish sanitizer and recheck water chemistry after refilling
For sanitizer, hydrogen peroxide is a strong choice for most at-home situations. It just breaks down into water and oxygen, so it leaves no chemical residue at all, and honestly it feels gentler than chlorine. The standard dose is 1 cup of 3 percent solution per 100 gallons after each session.
Most manufacturers recommend a full water change every 3 to 4 weeks for a single-user home cold plunge tub. With a UV or ozone purification system added, that interval can extend to 6 to 8 weeks.
The Setup Is the Starting Point, Not the Finish Line
A well-done cold plunge setup removes friction from the practice. The tub keeps the right temperature, the water stays all clean, and getting in becomes a quick 30-second choice instead of a 30-minute chore.
Consistency is what produces results. Three sessions per week at 57 degrees F over 60 days will do more than one session a week at 38 degrees F. The beginner cold plunge guide is about building the habit, not chasing extreme cold from day one.
For those using Titan equipment and looking for model-specific steps, the Titan cold plunge setup guide covers what a general guide cannot.
The physical setup is done. The practice starts now.
RECENT BLOGS
How Often Should You Cold Plunge Per Week? What the Science Says
Aug. 05, 2026
What Temperature Should a Cold Plunge Be – A Free Guide?
Jul. 30, 2026
How Long Should You Cold Plunge? The Research-Backed Answer for Every Level
Jul. 29, 2026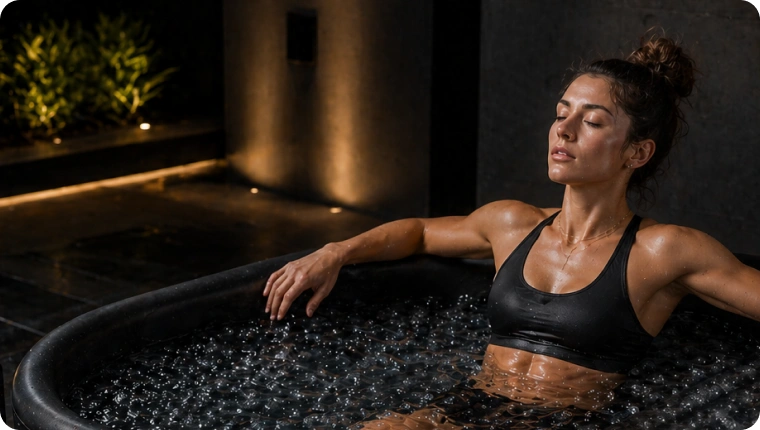
Cold Plunge Water Maintenance Guide: How to Keep It Clean, Safe, and Clear
Jun. 20, 2026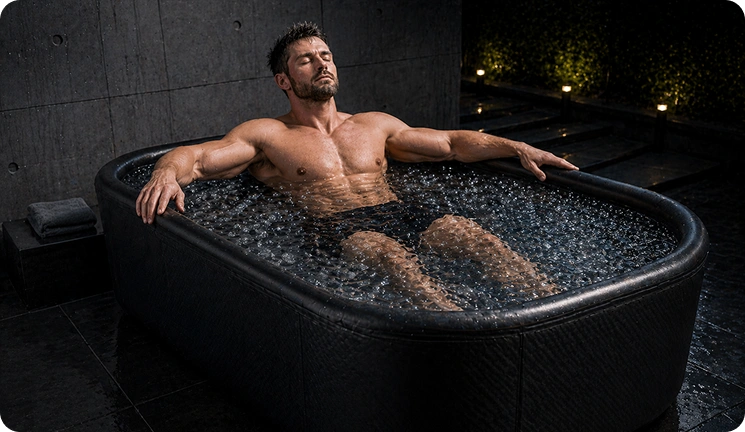
Cold Plunge and Mental Health: What the Research Shows for Stress, Anxiety, and Focus
Jun. 19, 2026Recent Blogs
How Often Should You Cold Plunge Per Week? What the Science Says
This is the most common confusion cold plunge users have. They always have to spend a lot of time deciding…
August 5, 2026
Read More
What Temperature Should a Cold Plunge Be – A Free Guide?
For most people, the sweet spot falls between 50°F (10°C) and 59°F (15°C). But where you land in that range…
July 30, 2026
Read More
How Long Should You Cold Plunge? The Research-Backed Answer for Every Level
Wondering how long you should actually stay in that cold water? So for most people, 2 to 5 minutes per…
July 29, 2026
Read More
Cold Plunge Water Maintenance Guide: How to Keep It Clean, Safe, and Clear
A cold plunge that is not maintained regularly becomes a hygiene problem within weeks. The water clouds up. The walls…
June 20, 2026
Read More
Cold Plunge and Mental Health: What the Research Shows for Stress, Anxiety, and Focus
Thousands of people get into ice-cold water each morning. Not because it feels like a relief. But because something shifts…
June 19, 2026
Read More
Cold Plunge for Muscle Recovery: What Actually Helps and What It Can’t Do
Today, cold plunges have become a standard part of recovery routines. Most of the athletes are using it for their…
June 16, 2026
Read More